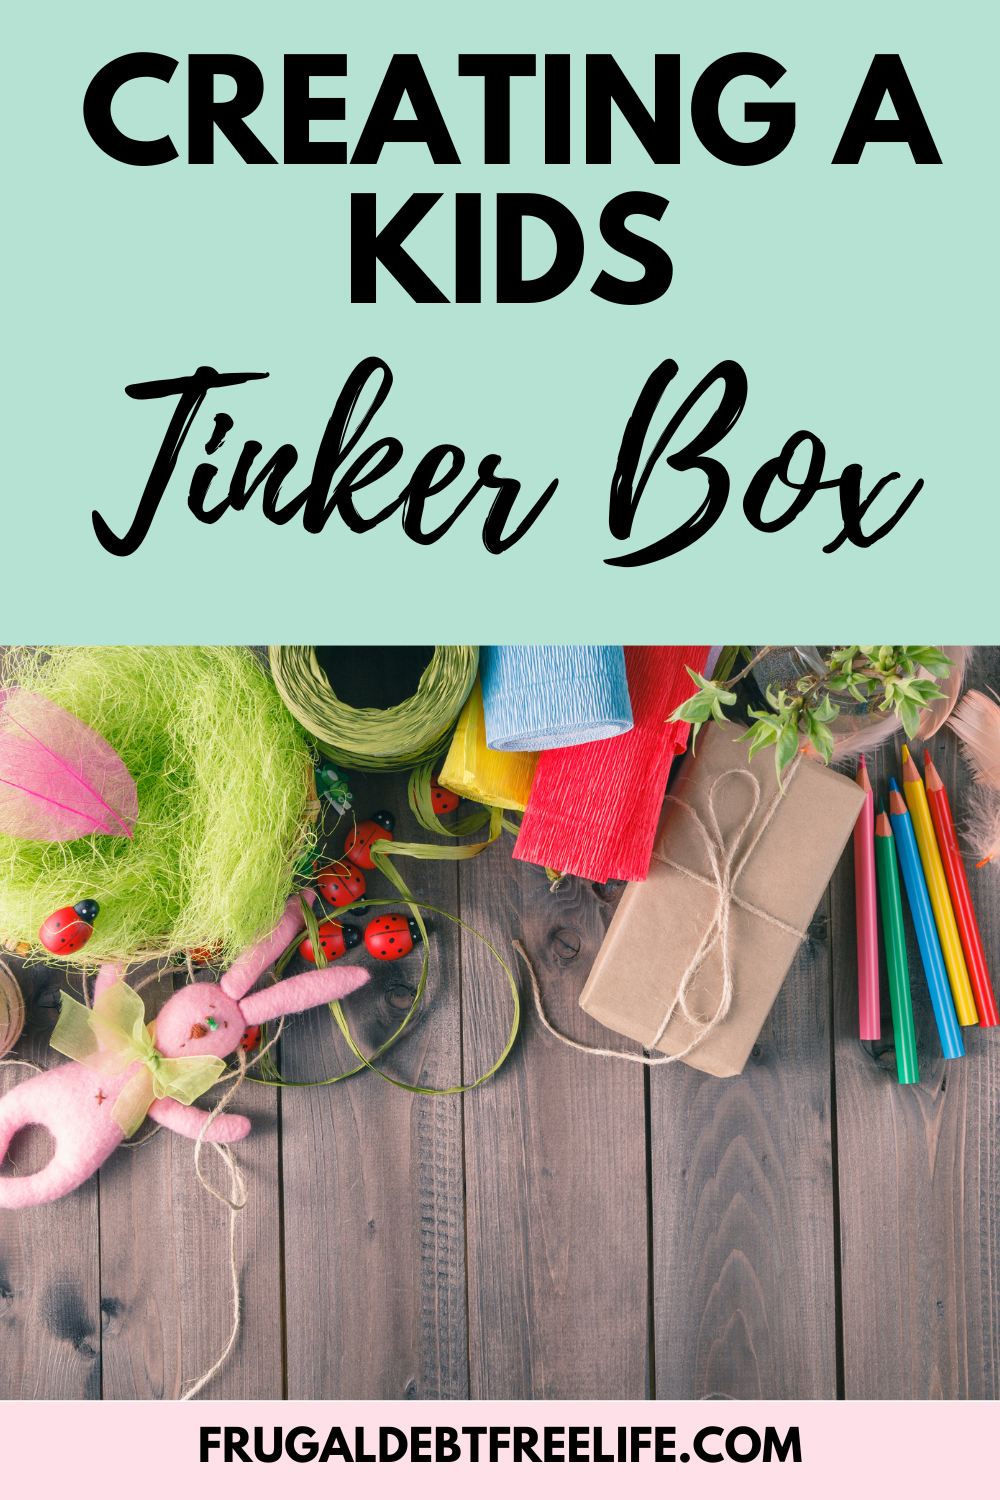
Creating a Tinker Box: Helping Kids Get Creative Over the Summer Break
/Summer is here, and with it comes endless opportunities for kids to explore, learn, and create. While structured activities are great, there’s something uniquely wonderful about giving children the freedom to use their imagination. Enter the tinker box: a treasure trove of random items designed to inspire creativity, problem-solving, and independent play. Here’s how to create a tinker box that will keep your kids engaged and imaginative all summer long.
Step 1: Gathering Materials
A tinker box is all about variety and the potential for open-ended play. Here's a list of items to get you started:
Basic Craft Supplies:
Colored paper
Glue sticks
Scissors (safety scissors for younger kids)
Markers, crayons, and colored pencils
Tape (masking, duct, and scotch)
String and yarn
Recyclables and Household Items:
Cardboard tubes (from paper towels and toilet paper rolls)
Egg cartons
Bottle caps
Old magazines and newspapers
Plastic containers
Aluminum foil
Nature Finds:
Rocks
Shells
Twigs
Leaves
Pinecones
Odds and Ends:
Buttons
Fabric scraps
Beads
Ribbon
Feathers
Tools (Supervised Use):
Kid-friendly hammer and nails
Hole punch
Magnifying glass
Measuring tape
Step 2: Organizing the Tinker Box
Organization is key to ensuring that your tinker box is both inviting and functional. Use small containers or ziplock bags to keep similar items together. For example, store buttons and beads in separate jars, keep paper scraps in a folder, and use a small box for string and yarn. A large plastic bin or a sturdy cardboard box can house everything, making it easy to transport the tinker box indoors or outdoors.
Step 3: Setting the Scene
Encourage creativity by creating an inviting space for tinkering. Set up a dedicated table or a corner of the room with plenty of light. Make sure there’s enough room for kids to spread out their materials and work on their projects.
Step 4: Encouraging Creative Play
Once the tinker box is ready, the fun begins! Here’s how to foster an environment that promotes creativity and exploration:
Open-Ended Questions:
Ask questions that spark imagination. Instead of “What are you making?” try “What do you think this could become?” or “How can these two things work together?”
Praise Effort, Not Just Results:
Focus on the process rather than the final product. Praise your child’s effort, problem-solving skills, and creativity. Comments like “I love how you figured that out!” or “What an interesting idea!” can boost their confidence and willingness to explore further.
Limit Instructions:
Resist the urge to give too many instructions. Allow kids to figure things out on their own. This fosters independence and critical thinking.
Show Interest:
Be genuinely interested in their creations. Ask them to explain their project and the story behind it. This not only validates their efforts but also encourages them to think more deeply about their work.
Introduce New Challenges:
Periodically add new items to the tinker box to keep things fresh and exciting. You can also introduce specific challenges, like “build something that can hold a small object” or “create a wearable piece of art.”
Model Creativity:
Engage with the tinker box yourself. Let your kids see you experimenting, making mistakes, and having fun. This models a positive attitude towards creative play.
Step 5: Document the Journey
Keep a notebook or a digital journal of your child’s creations. Encourage them to take photos of their projects, write about what they made, or even draw pictures of their ideas. This not only creates a wonderful keepsake but also helps them reflect on their creative journey.


